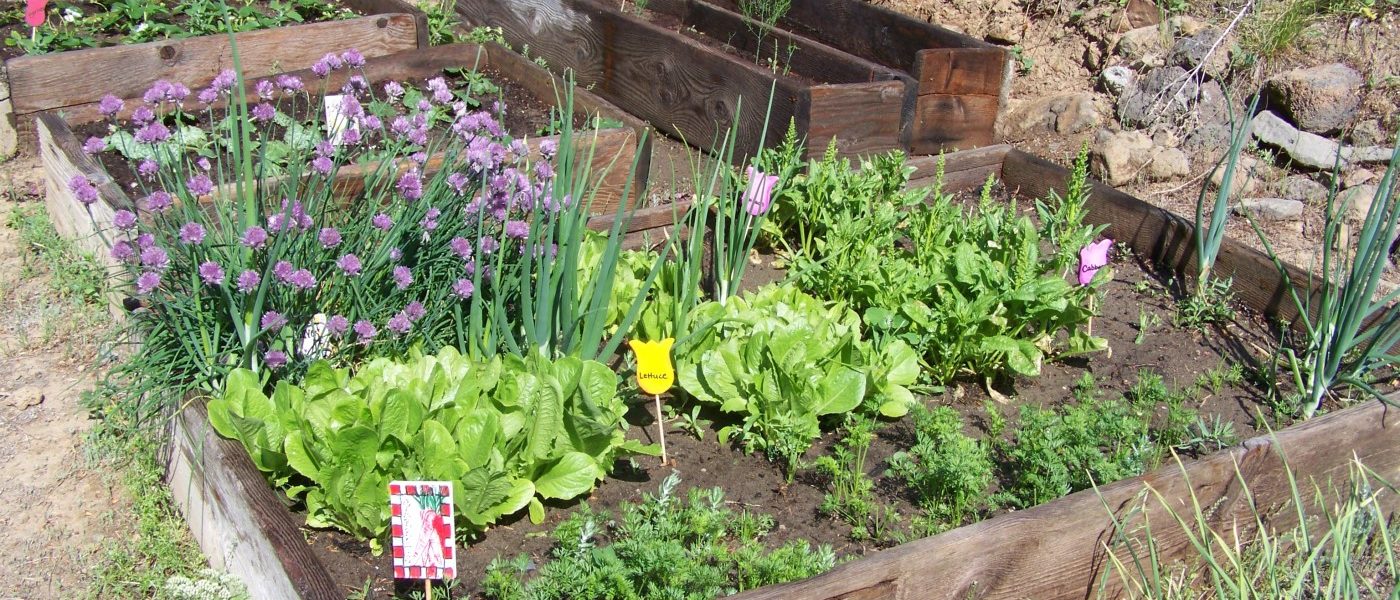
This 101, on how to build and grow in raised beds, comes from a Farm Aid project called HOMEGROWN.
We’re not talking raised beds in the princess-and-the-pea sense, with fluffy mattresses stacked a mile high. We’re talking raised beds for growing—as in gardening boxes. Usually made out of wood planks, concrete blocks, bricks, or other recycled materials, a raised bed gives you lots of control over your growing patch. In a way, raised beds can be thought of as giant plant pots.
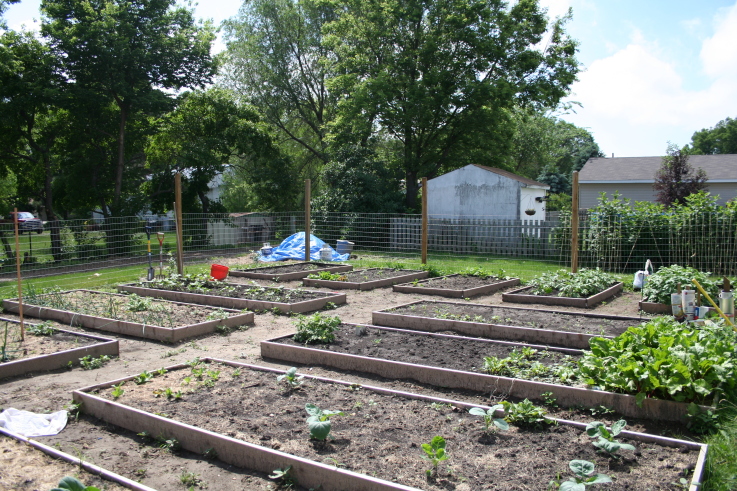
Photo: Meghan Rosenbaum
But let’s back up a bit: Why would you choose to grow your tomatoes and zucchini in a raised bed rather than plant them directly in the ground? Lots of reasons, actually.
- Many people in the city don’t have diggable soil to begin with. If you’re starting with, say, a concrete slab, a gravel patio, or a flat roof, you can’t till into the ground, but you can build a raised bed right on top.
- Even if you do have soil, it might not be something you want to grow edible veggies in. Urban soil, in particular, can contain high amounts of lead, and soil anywhere can be less than ideal for growing, whether that means heavy clay or an especially low pH.
- To take that point further, raised beds give you about as much control as you can have over growing outdoors. (Well, unless your neighbor’s cat sees your raised bed as a giant litter box. You’ll have to take that up with your neighbor.) Because you fill your bed with soil, you know exactly what’s in it, and you can adjust the mix as you see fit. Plus, since most raised beds are engineered so that you can reach all plants from the bed’s exterior, without ever stepping foot in the box, the soil stays loose, easy to weed, and well-draining. Fluffy, even. (OK, so there’s one similarity to those princess beds, after all.)
Are you sold on the virtues of raised beds? Cool. We’ll walk through the process of creating and caring for them below.
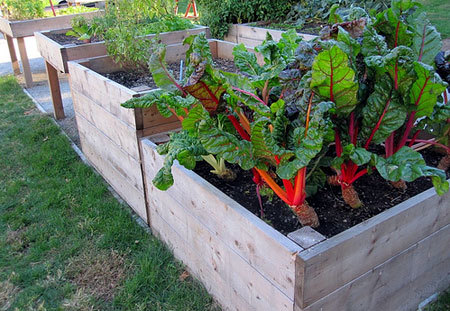
Photo: Cornelia Hoskin
PREPARING A SPOT: PICKING A LOCATION, TO LINE OR NOT TO LINE
As with any planting project, you’ll want to monitor your available growing space in order to select the best spot possible for your raised bed or beds. Keep tabs on how much light your greater planting area gets at different times during the day—and keep notes. If you plan on growing tomatoes or other crops that need full sun, look for the sunniest spot. If you’re planning to grow an herb that can tolerate some shade, make note of the dappled and partially shaded areas.
Once you know where you want to locate your raised bed or beds, you’ll want to prep their footprints. As with everything related to gardening, there’s not so much a right way or a wrong way to do this as there are a million rights and a million wrongs, depending on whom you ask.
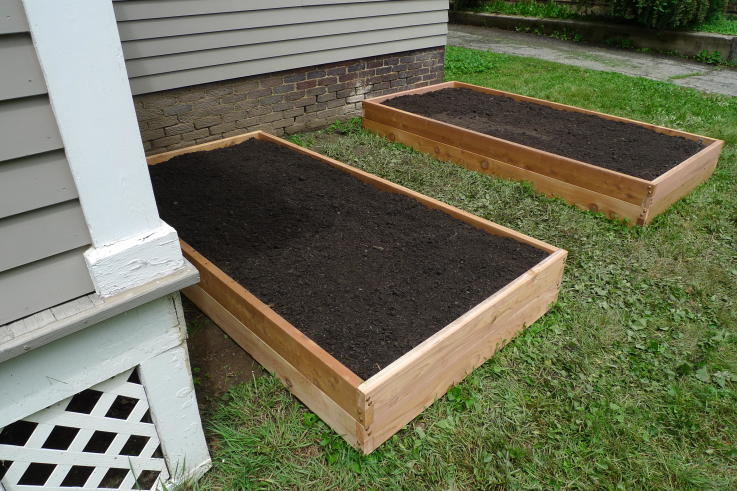
Photo: Homegrown contribute Eric
That said, if you’re concerned about soil contamination, you’ll want to create a barrier layer between the soil in your raised bed and the ground beneath it. Some people recommend laying down 4 to 6 inches of stone and then a few inches of stone dust. Tamper the stone dust and put loam on top of it. A little salt marsh hay will keep the weeds down and lock the moisture in. Other folks recommend layering newspaper or cardboard or even hardware cloth, which keeps the gophers and moles out, followed by weed fabric.
If you’re not sure whether or not you should be concerned about what’s in your soil, you can conduct a test.
If you’re not concerned about commingling dirt, you can dig down into the ground to turn up the existing soil and essentially increase the height of the raised bed (though some of that height isn’t so much “raised” as “sunken”). Or you can go the even less labor-intensive route and simply clear the area on which you’ll build your raised bed of weeds.
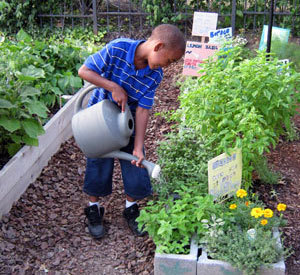
Photo: CITY BLOSSOMS
CONSTRUCTING YOUR RAISED BED: CHOOSING MATERIALS
Remember that whole no-right-answers thing? Yep. Still goes. There are plenty of schools of thought on what material you should use when constructing raised beds—and just as many more schools on how deep those beds should be.
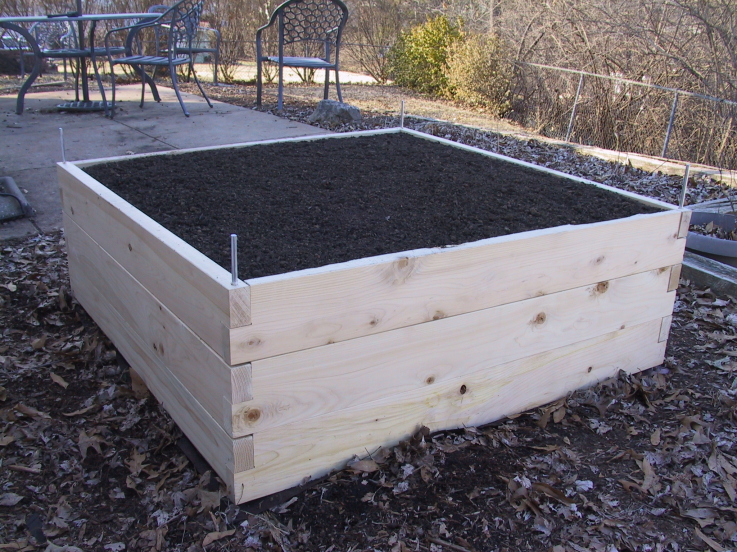
Photo: Homegrown Contributor Stacey
Let’s tackle building materials first. One good solution is finding something to recycle. The only caveat here is that, in the same way that you want to be aware of the soil health and safety underneath your bed, you’ll want to keep in mind that any chemicals in the materials you use for the bedframe can leach into your soil. Pressure-treated wood is no bueno, and wood varnishes aren’t safe, either. (Think food-grade, people!)
If you’re heading to the lumber yard, we recommend Douglas fir for its cost effectiveness—2x10s, to be exact. If money is no object, redwood and cedar are ideal. Pine is OK, too, as long as it’s not treated. One note on wood: Since you don’t want to seal or otherwise chemically weatherproof the wood, it will degrade over time, meaning your beds will have a finite lifespan.
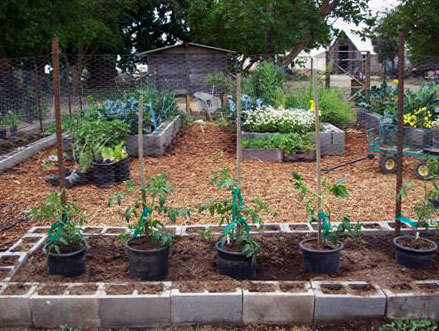
Photo: Lynda Reynolds
Other folks skip wood altogether and use materials like cinder blocks to build raised beds. Some cinder block positives: you can plant in those holes in the blocks; the blocks are wide enough that you can sit on the edge and plant; and the blocks heat up very early in the season and retain the heat, so some people find that their harvests arrive earlier than in wooden boxes.
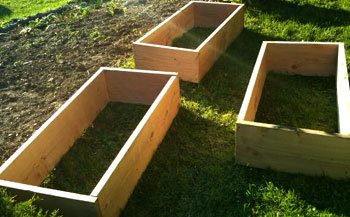
Photo: Mud Pies to Sticky Buns
CONSTRUCTING YOUR RAISED BED: DETERMINING HEIGHT/DEPTH
The general shape of your bed or beds depends on the amount of space available and what you plan to plant—though sticking to a width of four feet or narrower ensures that you’ll be able to reach into the bed’s center from either side. But how tall—or how deep, depending on how you look at it—should your raised bed be? You guessed it: It depends.
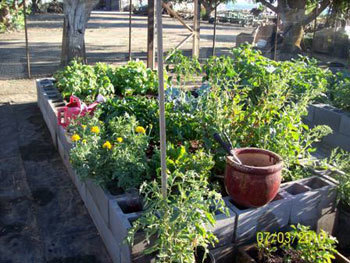
Photo: Lynda Reynolds
If you’ll be growing root vegetables, you won’t want any less than 8 inches and 12 to 16 is preferable. For instance, carrots need deep soil, as do other root veggies, including beets, since root systems can go as far down as 2 feet.
Other edibles don’t need as much depth. You can transplant tomato seedlings, for example, by stripping off the lowest leaves and laying the roots and the bottom part of the plant laterally in the bed before covering them with soil. Practically all the vegetable crops can be grown in raised beds, as most only set roots down to 6 inches, with the notable exception of corn.
FILLING YOUR RAISED BED: SOIL MIX AND MAINTENANCE
After you’ve spent time and effort building your bed, you’ll want to fill it will an equally well-considered and well-balanced soil mix. If you’re buying soil, be sure to look for organic labeling and supplement it as you would otherwise with compost or compost tea.
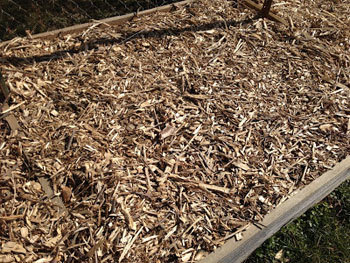
Photo: Janine Roe
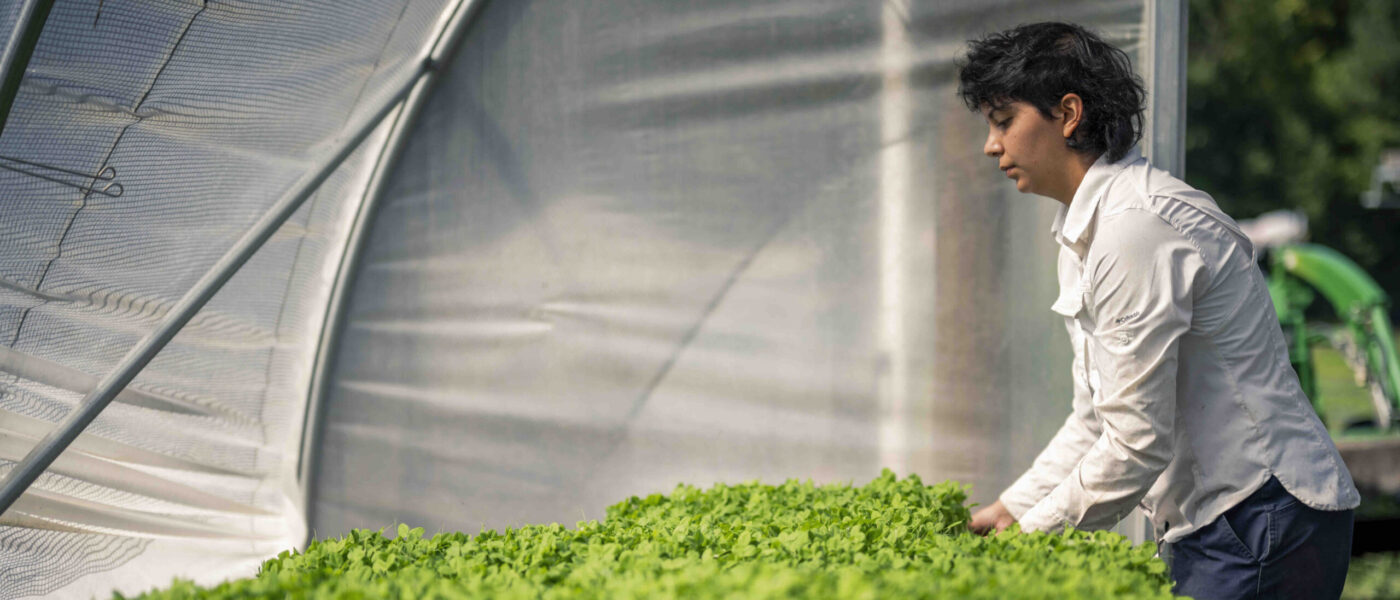
As with planting directly in the ground, you can use season extenders—such as row covers, low tunnels, cold frames, and hoop houses—to lengthen your grow time.
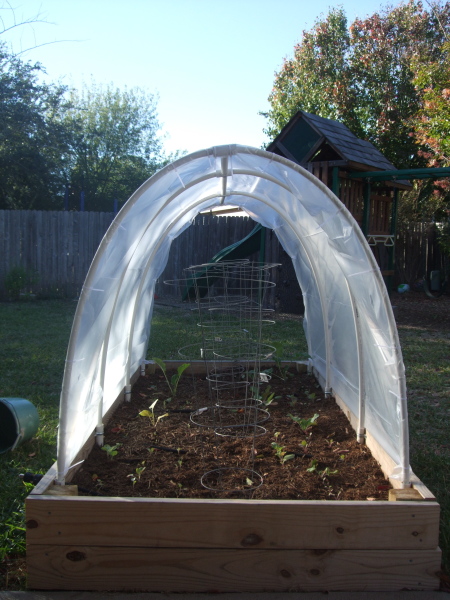
Photo: Homegrown Contributor Michael
Whether or not you eke extra weeks out of the growing season, for best results come spring, you will want to cover your beds once you’re done growing for the year. A blanket of organic matter will protect your precious soil from the elements during those chilly winter months.
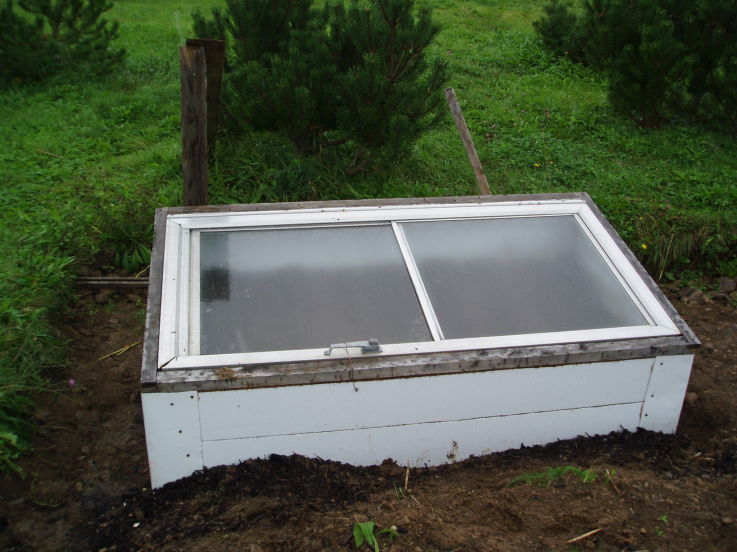
Photo: Leonard Vassallo
Some people covered their beds with wood chips. Other folks opt for other types of mulch or even just leaf litter raked up from the yard.
Before you know it, spring will be back again, and you’ll start the whole wonderful cycle over, from selecting seeds to starting seedlings to—well, keep reading.
WHAT TO PLANT IN YOUR BED AND HOW TO CARE FOR IT
You’ve got beds. You’ve got soil. Now, what can you grow? Here’s the fun part: Pretty much any and every veggie or herb is suitable for a raised bed, as well as many berries, flowers, and more. Hooray!
In fact, in most aspects, planting and tending veggies in a raised bed isn’t that different from planting directly in the ground. As with in-ground planting, you can succession plant in raised beds. Scratch that: You should succession plant in raised beds. Also, as with planting in ground, you should rotate what you plant in a given bed from year to year; that is, don’t overtax your soil by planting tomatoes in the same spot for three years running. Raised beds are especially friendly to many methods of intensive gardening, from French intensive to square foot gardening.
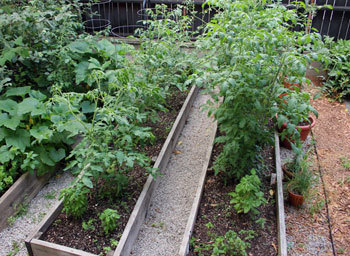
Photo: Jennifer Wehunt
As for watering, you can do it by hand, but there are also some handy tricks out there for self-watering raised beds, and even ways to install your own drip irrigation system.
